ARC Raiders: First Raid Guide for Speranza
Practical guide to ARC Raiders. Learn how to survive your first Dam Battlegrounds raid, manage free loadouts, your stash, and extraction.
Contents 7
Your first successful surface run requires a simple approach: choose a free loadout, keep a safe distance from machines, and plan your return to the elevator before the mission timer expires. In Speranza, you will prepare your gear and organize your stash, while on the Dam Battlegrounds map you will gather materials needed for initial workshop upgrades without risking your own belongings. Understanding the differences between free and custom loadouts helps you avoid painful losses right at the start of the game.
- Do your first raids with the Free Loadout to learn the Dam Battlegrounds map without the risk of losing your own items.
- Manage your 64 stash slots by selling trinkets to traders and gathering 5000 coins for the first storage upgrade.
- Extraction elevators turn off over time and generate noise, so head to the exit point a few minutes before the round ends.
Speranza: Preparing for your first expedition
The underground settlement of Speranza serves as your base of operations. This is where vendors issue missions, you manage the Workshop, and you review your stash contents. Your stash offers 64 item slots to start with. The first inventory expansion adds another 24 slots and costs 5,000 coins. For this reason, hoarding everything without selection will quickly lead to a lack of space.
Before heading out into the field, visit the workshop and select the option to track needed materials. The tracking system allows you to quickly recognize desired components directly while looting containers on the surface. At the workshop, you can also check the upgrade status of crafting benches, such as the Utility Station, where you will craft advanced tools later in the game.
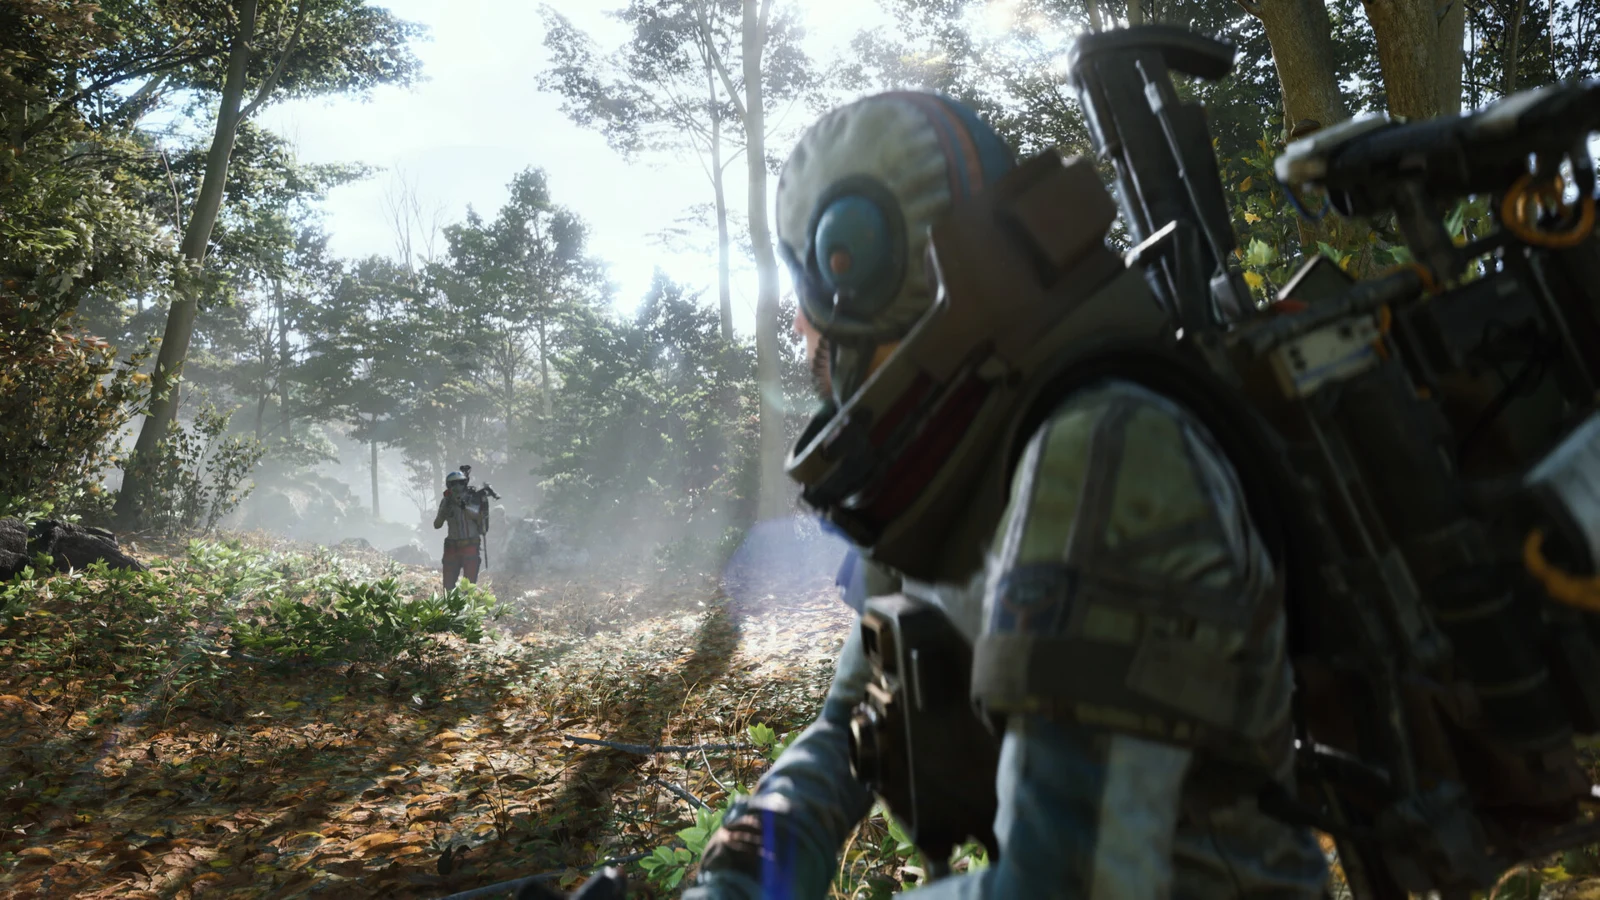
Free Loadout vs Custom Loadout
Choosing your loadout before starting a raid is a fundamental decision for every run. The game offers a Free Loadout and custom setups created via Custom Loadout. There is also the option to enter without any gear, which is technically treated as a custom variant with a baseline 10 backpack slots and one safe pocket.
By choosing the free equipment package, you receive a randomized weapon and basic tool configuration, but you lose the Safe Pocket. In case of failure on the surface, you lose all found items. Certain weather conditions may temporarily block free loadouts entirely, forcing you to bring your own gear.
| Gear Feature | Free Loadout | Custom Loadout | No Equipment |
|---|---|---|---|
| Backpack Capacity | 14 slots | 16 to 24 slots (per augment) | 10 slots |
| Safe Pocket | None | 1 to 3 slots (per augment) | 1 slot |
| Weight Limit | 35.0 units | 40.0 to 80.0 units | Undefined |
| Available Shields | Light Shield only | Depends on augment | None |
| Risk of Item Loss | No risk to own goods | Loss of brought gear | Loss of found loot |
Free loadout in practice: healing, shields, and Scrappy
The free gear bundle always includes a Light Shield armor, two Bandages, one Shield Recharger, and a firearm with an assigned ammo supply. The weapon drawing pool features the Kettle I light ammo pistol, Stitcher I light ammo submachine gun, Rattler I medium ammo rifle, and the slow-firing yet armor-piercing Ferro I heavy ammo rifle. On top of that, you get a set of grenades or tools, such as a Zipline, Adrenaline Shot, Jolt Mine, Lure Grenade, Defibrillator, or Barricade Kit.
When you take damage, the Light Shield absorbs the initial hits. You regenerate it using the Shield Rechargeritem. You restore health bars with Bandagesbandages. If you unlock the In-round Crafting node in the Survival skill tree, you gain the ability to craft basic medical supplies right on the surface from found components. Remember that exceeding the weight limit immediately drains your stamina, limiting your chances of escape.
Step by step: your first raid on Dam Battlegrounds
Initial raids take place exclusively on the Dam Battlegrounds map, where a ruined dam dominates swamps and forests. Each raid lasts a maximum of 30 minutes. When the timer at the top of the screen reaches zero, the area is destroyed by a bombardment, eliminating any late players.
- Landing zone start: After loading in, check the map with the map key. Pay attention to the nearest extraction elevators marked with icons and their deactivation timers.
- Quiet environment scouting: Approach research buildings and dam installations cautiously. Avoid detection by flying Snitch units, which call for reinforcements upon spotting an intruder.
- Eliminating ARC threats: Spider-like Ticks hide under building ceilings. Take them down with single shots. If you encounter a Leaper or Bastion, give them a wide berth, as your free Light Shield armor will not withstand a direct hit.
- Loot selection: Gather items marked for your workshop projects and valuable ARC machine tech materials like ARC Powercell and ARC Alloy. Leave behind cheap items that you can easily craft at the base.
- Reaching the elevator: Set off for your chosen extraction point no later than 7 to 10 minutes before the end of the round. If the nearby elevator has shut down, head to the next active station.
- Departure procedure: Approach the external panel and call the elevator. The mechanism generates a loud noise, luring nearby ARC machines and other players. Take a secure position behind cover, and once the cabin arrives, step inside and immediately activate the internal departure terminal.
Alternative extraction via Raider Hatches
Aside from noisy elevators, the map features Raider Hatches. Opening them requires having a rare Raider Hatch Key. This key is single-use. Once used, the hatch stays open for just a few seconds before closing permanently. This extraction method is worth using when the elevator in your area has been blocked or surrounded by overwhelming enemy forces.
Return to Speranza: recycling or selling to traders
After a successful extraction, your loot goes to the base. At this point, you must decide the fate of each item so you do not clog up your Stash:
- Selling to traders: All trinkets and luxury items have no crafting use. Sell them to traders immediately to gather coins for stash upgrades and blueprint purchases.
- Storing ARC resources: Machine cores, ARC Alloy, and ARC Powercells should be kept in your stash. They are essential for upgrading your workshop and weapons, and acquiring them requires fighting robots.
- Recycling and ditching cheap supplies: Do not keep an excess of bandages, light shields, or cheap ammo in your stash. The workshop produces them at a minimal cost, and free storage slots are too valuable.
After emptying your backpack and investing your coins, you can pick a free loadout again or assemble your first Custom Loadout, securing your most valuable item in the Safe Pocket slot.
Sources
- Everything you need to know about ARC Raiders | ARC Raiders
- Loadout - ARC Raiders Wiki
- How to extract in ARC Raiders - Dexerto
- ARC Raiders Beginner Guide: Loadouts, Maps and Extraction
Frequently asked questions
How does the Free Loadout work in ARC Raiders?
The Free Loadout is a complimentary gear set with a random weapon, light shield, ammo, and medical supplies. This set has no Safe Pocket and features a weight limit of 35 units.
How does elevator extraction differ from escaping through a Raider Hatch?
The elevator is free, loud, and available to everyone, though individual elevators shut down over time on the map. The Raider Hatch requires a single-use Raider Hatch Key and closes after a few seconds.
What happens after a character dies on the Topside surface?
Upon death, you lose all equipment and gathered loot except for items stored in the Safe Pocket. Only earned experience points return to the base.
How to get the Raider Hatch Key for alternative extraction?
The key can be obtained from missions like Hatch Repairs, found as rare map loot, bought from trader Shani at level 12, or crafted at Utility Station 2.
Which items are worth selling in Speranza right immediately after a raid?
Immediately sell all trinkets and excess weaponry. Selling provides coins needed to expand your stash by 24 slots for the price of 5000 coins.
Why does the Free Loadout lack a Safe Pocket?
The Free Loadout uses a predefined Free Loadout Augment that removes the Safe Pocket slot in exchange for zero equipment cost and zero risk of losing your own stash supplies.